Showing posts with label Crafts. Show all posts

Sunday, November 3, 2013

Fall Printable

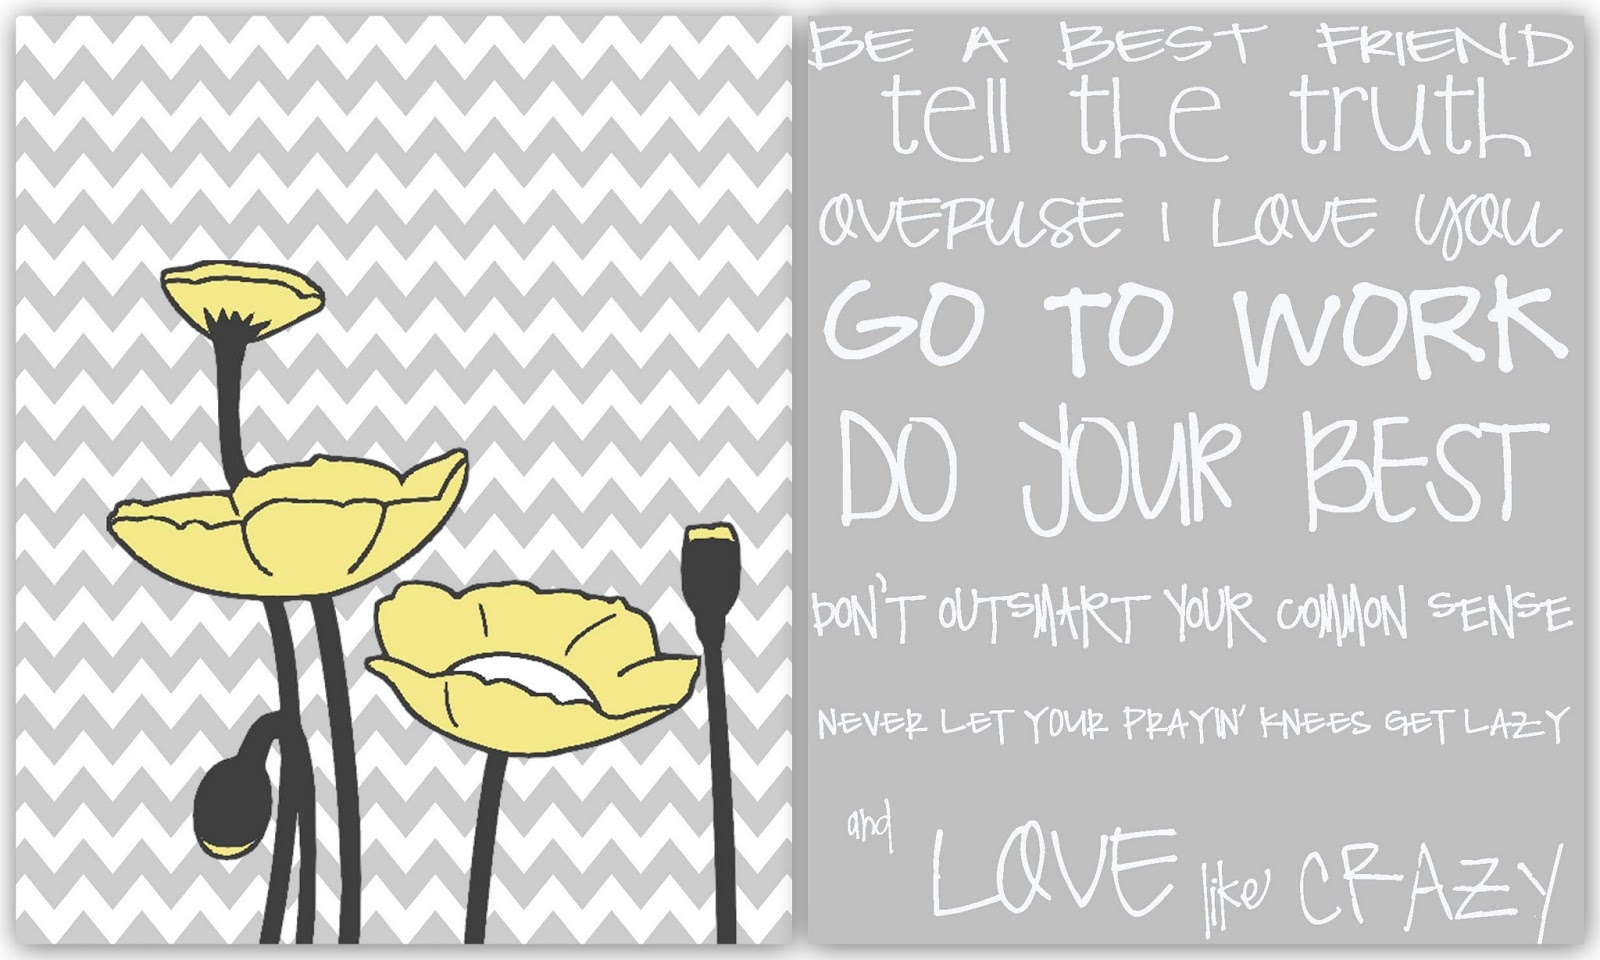
Here is my fall printable/subway art I made. Feel free to print and share! It's created as an 8x10 so if you need another size just be sure to adjust it after saving it.


For best results send to a photo place. I usually send mine to Costco. Good quality for a fairly cheap price. Just be sure to right click the image and save it for the full page. If you need me to send you the PDF file, I totally can. I still don't know how to upload to blogger :)

Monday, October 14, 2013

10 months old

My baby boy is 10 months old! Time sure does fly by. I have loved every second with him, well almost every second. He is such a sweet boy. I am a lucky girl to have someone give me smiles and kisses all day. Still a little guy, but crazy active!
I have been documenting his monthly milestones with chalkboard pictures. I just use Picasa to add the text. It's been fun to see how much he changes!
Here's his 10 month picture.


Also, I thought I'd share all his previous pictures to see how he's changed.

Thursday, October 3, 2013

Favorite Things Party

My extended family and I are putting on a "favorite things" party. We have a large family so we thought we would bring an item (or some) that we love for about $10. Then we would draw a name to see who gets our item. I've done this before and loved it! Some people play it where each person brings 5 of the same item, but where this is a large group, just one is good for us. It's fun to see what other people's items are. Makes for a great evening!
Anyway, I made this announcement and thought I'd share.
I would be happy to customize this announcement for anyone that may want it. Just let me know! You can leave a comment and then I will email you the picture so you can print it out anyway you would like.

Tuesday, October 1, 2013

Invites Made

Here are a couple of invites I made. I had so of my own inspiration so I thought I'd share them. Feel free to use this idea to make your own!


Thursday, August 29, 2013

Slacker

 I've been a complete slacker on my posts. I DO have a good reason though.....


Nursing one baby and growing another baby has taken all my energy! I'm lucky enough to not get sick (so far at least) so I will take the energy being sucked away. I plan on getting back to the blogging world as soon as possible.

I thought this would be a cute pregnancy announcement. His face ties it all together too haha.
All I did was take the picture next to a blank chalkboard and then added the text on Picasa using some chalkboard fonts.


Etsy Shop

As I mentioned in previous posts, I'm learning how to use Publisher and other designing/editing software. For that reason, I've been making some birth and baptism announcements for people. I thought I'd post my finished products on Etsy. You can find my shop HERE.

Here are a couple of my most recent projects.
This one is a cute chalkboard birth announcement. It can be customized for a boy or girl and can be made to match any photo/color combination wanted. Super cute!
I love this cute chevron birth announcement. This one everyone has fallen in love with. Probably because the mommy/daughter picture is absolutely adorable!

This was an LDS baptism announcement I made for my nephew. We made the announcement to match the colors of his tie. Since the pictures were a little rustic, we wanted the announcement to come off that way.

 
This is an LDS baptism announcement I made for my friend. She made a really cute set up using these colors! It turned out awesome. I even made matching water bottle covers to go with them too. :)

Friday, July 12, 2013

How I Made a Taggie Blanket

My friend is having a baby boy pretty soon. Since our boys will be like 9 months apart we have a lot of craft ideas together. A taggie blanket was an idea she saw somewhere. I hadn't ever heard of them, but it totally makes sense! I didn't have any idea on how to make a taggie blanket so I just kinda winged it from a picture she posted on pinterest. I didn't want to go and buy one.

I decided to create one for us, and for a couple other people too.

I made mine first, and then made one for my cousin who just had a baby girl. The second one turned out much better than the first.

I am NOT a sewer. I'm totally a beginner sewer. I am slowly teaching myself so this is totally not perfect at all.

Here are the steps that I found worked for me. 

1. Cut out equal sized squares in two different fabrics. I used minky for one side and then just a cotton for the other. You can cut them any size you like. For this one, I had enough fabric for an 18x18 blanket. Make sure to iron your cotton fabric so you can get an accurate measurement.

2. Cut out the types of ribbon you want. I did about 4-5 inches long of 4 different ribbons. You can totally use the same ribbon all around. I liked the look of different kinds though. I used ric-rac too. I cut out 16 pieces total. I made them all the same on each side.

3. Sew your ribbons onto the top side of the cotton fabric. You will want to sew them so they are facing inward. When you sew the two pieces of material together you will be sewing them inside out so that the tags will be facing outward. I didn't pin them. I found it much easier to just place and then sew and then move onto the next one. I DID NOT sew all around the fabric. You'll just want to sew these on where they are going to be. You could even hand stitch them on. I also used the zig zag stitch for everything. I like the way it looks. :)

 
4. Sew the fabric and minky pieces together. To do this, you'll want to face them top side together. All the ribbon will be on the inside. Make sure to leave a space open to be able to flip it to the right way. I leave about a 5 inch opening. Sew around the border, about 1/4 inch in. I always just follow the edge of the material with the right side of the thing that holds the material in place (beginner sewer at it's best right there). As you sew around the edges just be mindful of the placements of the ribbon.
 
 
5. Bring the fabric right side out through the opening you left. All your tags should now be sticking straight out. Fold the opening so that the two pieces of material match the sewing on the other parts. Pin in. Start from a corner and top stitch over the whole thing.


Monday, July 8, 2013

Behavior Chart Freebie

I created this behavior chart/discipline chart to match the binder covers I created in the last post. All you need to do is print, laminate, and then put together using a hole-punch and some of those binder rings. I made the ready to learn larger since you will most likely be starting out with all kids on that one.


Some Teacher Freebies

I helped a friend create these for her class so I thought I would post them on here to anyone that wants them.

Included are some poster boards that can be displayed in a classroom. They are created as an 8x10 photo. They look great if you send them to a photo center.


These ones were some of the plan books and guided reading covers created. I will post more freebies as I make them.


Thursday, July 4, 2013

Summer Subway Art Printable

Since the 4th of July will soon be over I thought a new printable was in order. It's a summer one.
Me and my sisters love music quotes! So I thought I would make the summer one just some quotes from some of our favorite songs. I hope you like it.

Just right click the photo and save it or print it.


Tuesday, July 2, 2013

4th of July Printable-FREE

Since I'm learning how to use Publisher, I decided to create a printable with 4th of July subway art. 4th of July is one of my favorite times of the year. I love the country we live in! There's not a better way to celebrate our freedom than with family and fireworks. I'm especially grateful to those that have served our country to protect every single one of us! Thank you very much!


To get the picture, just right click on the picture, save it, and print it out. Or you can send it to be printed out somewhere. I always like the UPS Store cause their color copies are usually on sale and you can get them printed on cardstock for pretty cheap.
It's created as an 8x10 photo. If you print it just as an 8.5x11, you may need to trim some of the stripes off just a tiny bit.

If you decide to send it to a photo center, the colors are usually off a little bit.

Thursday, June 27, 2013

Owl Shower Invite Stuff

I saw most of these ideas on etsy and loved them, so I created them on my own. :) I added my own ideas to some though. It includes cupcake toppers, hand sanitizer thank you covers, baby bingo, and some subway art to display. The hand sanitizer I came up with on my own though.

 
It all goes along with this invite:
 
 
I found the inspiration from these etsy shops:

Chalkboard Pictures

Before I had my baby I found this idea on pinterest. I was so excited to try it. I found a frame I liked, for a cheap price, bought some chalkboard paint and created my chalkboard. The first month I attempted to write it cute with different colors of chalk and make it a readable font. That was my first mistake. I don't have the patience to sit there and write it all out with perfection. The next mistake was not thinking my baby would end up smearing it haha. So on the second month I had an epiphany.... I could take the picture blank and use all the different fonts I have collected to add the "achievements" on there. DUH! Why didn't I think of that before? I spent hours trying to make it look good AND get the good picture I needed. This made it all 100% worth it. Now, I just have to worry about getting a good picture (which isn't too hard with my little guy).
To add the words I just uploaded my photo to Picasa, added the text on and changed the font to the style and color I wanted and VIOLA! Perfection. I get asked all the time how I write it soo good and since I get a lot of people wondering, I thought I would post how I did it.

Here was the first picture I tried


Here was my second attempt at writing it:
Here's how I take my pictures now (I couldn't resist this pic haha)
And here are the rest.. aren't they SOOOO much better?

Just a little project.. or two

I have been creating some little wall displays based on inspiration from a photo someone liked on facebook. The original designs are just photos I have liked that others have created. I have changed them to my liking.

This was the first one I made. I thought about putting it in my son's room, but I have already changed the colors I want to put in there. :)
This one I was thinking of my cousin and her new baby girl coming soon.


My friend is starting to teach Kindergarten and she was doing a safari theme in her room. I thought this would go cute in there.


I made this for a family reunion and framed it in a white frame. However, I think it would be cuter in a black frame.

LinkWithin

Related Posts Plugin for WordPress, Blogger...